The switch to solar energy is an excellent choice for those who wish to lower their energy bill and decrease emissions from their home. Installing solar panels involves several steps that need careful planning along with expert knowledge of technical issues in addition to strict adherence to the local laws and laws. If you select the most effective solar panel installation services, homeowners are guaranteed efficient and long-lasting solar power systems. Starting with determining the energy needs to final testing, these crucial actions will make sure that switching to renewable energy is simple.
1. Assessing Energy Needs
The first step in the process of installing solar panels is to analyze the energy requirements of your home. This involves looking at the previous bills for electricity to determine the typical rates of consumption. If you can determine the amount of power consumed throughout the day, and each month homeowners have the option of selecting the solar panel that is most suitable for the requirements of their house. Homes with a lot of consumption of energy may need more panels or even batteries that can store energy for storage. A small home that has a smaller power consumption may benefit from a grid-tied system which can be fundamental. A thorough assessment will ensure your system's power and that it isn't overloaded.
2. Site Inspection and Roof Evaluation
Before installing solar panels, a thorough inspection of the house is vital. Roof conditions the angles, shade, and even the material all influence the performance of the solar system. A roof that's weak in structural terms may require repair or strengthening before installation. Furthermore, the proximity of trees as well as structures that cast shadows on the roof can influence the solar panel's efficiency. If shading is an issue, homeowners may need to trim trees or consider alternative possibilities for panel installation, like the ground-mounted panel. A thorough assessment of the property will help ensure that the panel is energy efficient to the maximum.
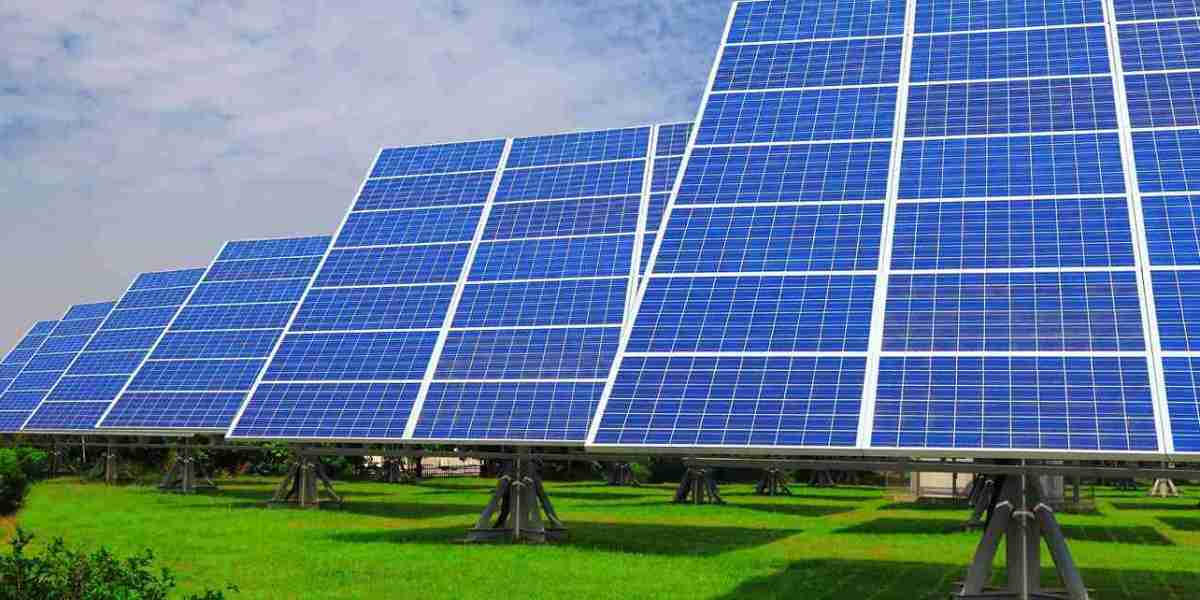
3. Choosing the Right Solar Panel System
There is a wide range of solar panels on the market suitable for various needs and budgets. The three choices to think about are:
Grid-connected devices: They are connected to the electric grid within the location that permits homeowners to use electricity even during times when the solar power is low and return any excess power to the grid.
Off-grid devices work without power grids, using batteries that store energy during dark or cloudy weather.
Hybrid system: A combination of grid-tied and off-grid systems These systems permit homeowners to reduce their energy consumption but still access the grid to back up.
For high-end products, choosing inverters, panels, as well as batteries, will guarantee greater efficiency and lower costs for the longer term. The factors like longevity, efficiency, and warranty must be considered when choosing the right device.
4. Obtaining Permits and Approvals
Installing solar panels needs permission along with approvals from local government officials. This ensures the compliance of zoning laws and rules for building construction and regulations governing utility companies. The procedure for obtaining permits differs based on the site and could take a couple of weeks. Residential solar installation services that are professionally installed for houses typically handle the permitting needs of homeowners, easing the procedure. Certain areas offer tax credits or other incentives for solar installations to help reduce prices. A proper documentation system and compliance with guidelines can prevent legal and technical issues from occurring shortly.
5. Installing Mounting Structures
Once the permits are accepted, the next task to install is the mounting structure that keeps those solar panels. The type of structure that is used to mount will be determined by the solar panels that are placed on top of a roof or the surface.
Roof-mounted Systems use metal frames connected by an elongated attachment to the roofing's surface. They're built to stand up to harsh elements of the weather while being at a location that is suitable for sun exposure.
Ground-mounted systems are a good option for situations when a roof's design isn't suitable to be utilized for installation. They will require more space however they can be adapted to tilt and direction.
The mounting system must be properly installed to ensure long-term reliability, longevity, and optimal solar energy harvesting.
6. Wiring and Electrical Connections
When the framework for mounting is set up and the wiring is installed It is time to join solar panels with an inverter. Inverters perform the transformation to direct current (DC) generated by solar panels into AC. (AC) that can then be used to power appliances in the home.
An appropriately wired system guarantees an efficient transfer of energy and minimizes energy loss. This process includes the integration of protection devices like circuit breakers and surge protectors to prevent electrical problems. A skilled installation is essential in this stage as incorrect wiring can cause problems or safety hazards.
7. Placing and Securing Solar Panels
Once the wiring is completed, solar panels can be properly positioned on the structure after which they are fixed. A skilled solar panel installer will make certain that they're installed at the right orientation and position to maximize sun exposure. Most often, solar panels with a view to the south will receive more light all day. There are some exceptions, however, changes might be needed by the location.
Correct placement of panels is vital to the efficiency of the system. A misalignment can lead to less energy output. Furthermore, the panels must be secure to endure the force of strong storms, and heavy rain in addition to other situations. The installation that is of the highest quality will extend the longevity of your system as well as ensure constant energy production.
8. Connecting to the Power Grid
For grid-connected solar panels, connecting to the grid's power source is the most crucial stage. The process involves working with the local utility company to establish net metering, which allows homeowners to transfer any excess energy back to the grid, thereby reducing their electricity bills. Net metering can help balance both energy consumption and consumption as it reduces the demand to rely on traditional power sources.
The utility company can inspect before they approve the connection. The owners of houses are advised to be aware of extra charges or terms from their electric provider. Grid connections that are efficient allow seamless integration of solar power for use in everyday life.
9. Final Testing and Activation
Once the system has been operational an extensive exam and test procedure is carried out. The installers examine each electrical connection as well as the functioning of the panel and ensure that the inverter is working correctly. It is also necessary to monitor the energy output to verify that the system is producing enough power to provide the necessary amount.
After the testing has been completed, following which the system is legally licensed, homeowners can use solar energy. The latest solar panels include monitoring software or applications that allow users to monitor the energy produced immediately. Regular maintenance and cleaning ensure that your system runs well for years to come.
Conclusion
Installing solar panels is a step-by-step process that requires careful preparation, expert knowledge, and compliance with local regulations. Each step, starting with assessing requirements for energy to final activation of the system is vital to assure the reliability and durability of your solar system. If you work with the best solar companies Maryland homeowners will receive top-quality equipment, professionally installed, as well as dependable after-sales support. If you pick the best option, solar power not only helps in cutting down on electricity costs but can also contribute to the creation of a green and environmentally friendly environment soon.


